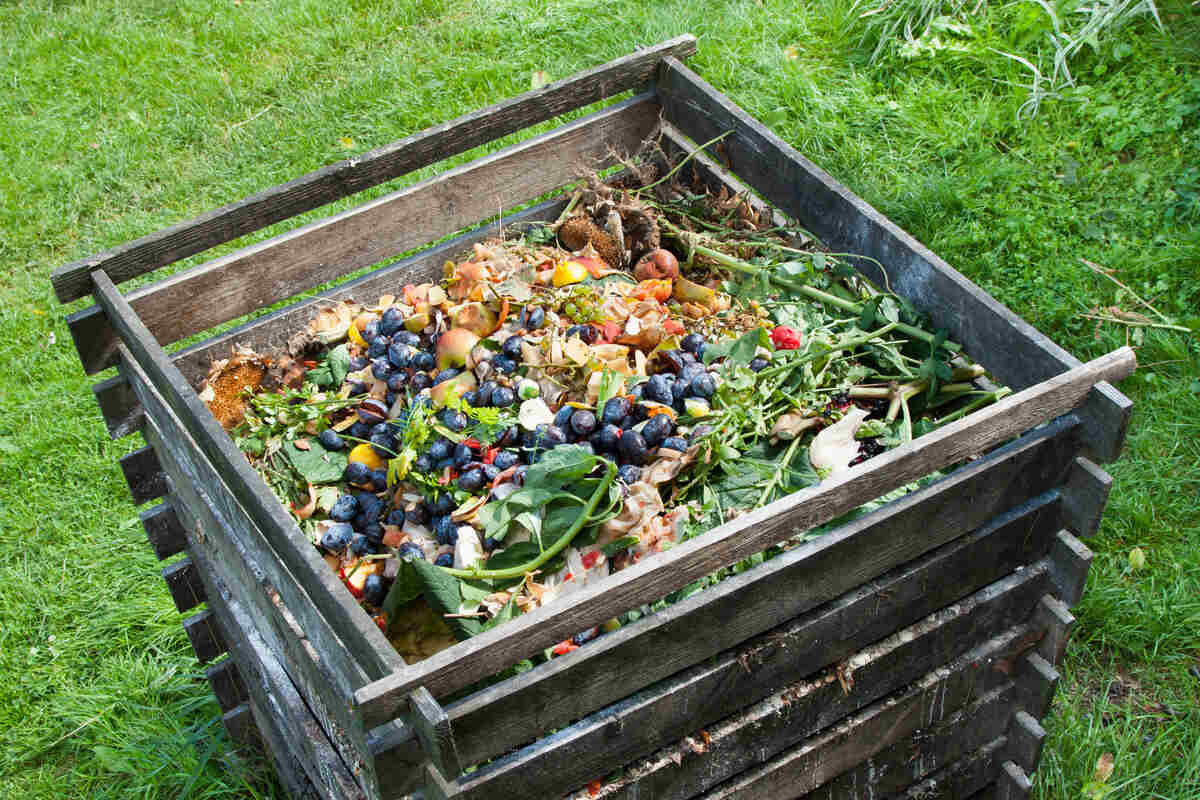
How To Start A Compost Pile: Easy Beginner Guide
Start a compost pile with browns, greens, water, and air in a simple layered bin or heap.
Starting a compost pile is one of the easiest ways to turn kitchen scraps and yard waste into rich soil food. I’ve found that once people understand the balance of materials, moisture, and airflow, composting feels less like a chore and more like a small home project with a big payoff. Let’s walk through how to start a compost pile the right way, so you can avoid the usual mistakes and build something that actually works.
What a compost pile is and why it matters
A compost pile is a managed mix of organic materials that break down into dark, crumbly compost. This finished compost can improve soil texture, help hold moisture, and support healthier plants. It also keeps food scraps and yard debris out of landfills, where they would otherwise create methane as they decompose without enough oxygen.
From experience, the biggest win is how simple it can be. You do not need fancy tools or a perfect yard. You just need the right ingredients, a little patience, and a basic system that lets nature do the heavy lifting.
What you need before you start a compost pile
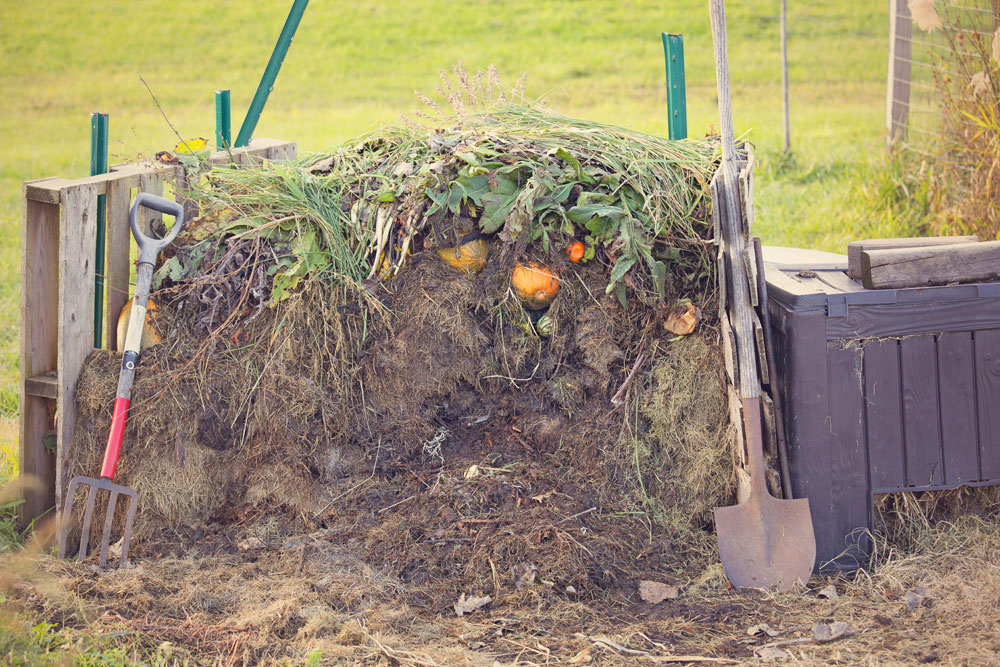
Before you start a compost pile, it helps to gather a few basics. You do not need to overthink it. In fact, the best compost piles are usually the simplest ones.
Here’s what you need:
- A spot for the pile or bin. Choose a dry-to-slightly shaded area with good drainage.
- Brown materials. These are dry, carbon-rich items like fallen leaves, cardboard, shredded paper, straw, and small twigs.
- Green materials. These are fresh, nitrogen-rich items like fruit scraps, vegetable peels, coffee grounds, and grass clippings.
- Water. Compost should feel like a damp sponge, not a soaked towel.
- Airflow. Your pile needs oxygen, so it should not be packed too tightly.
If you want to keep things neat, you can use a compost bin, wire frame, or wooden enclosure. But if you’re just learning how to start a compost pile, a simple open pile works fine in many backyards.
How to start a compost pile step by step
Starting a compost pile is really about building a good base and keeping the mix balanced. I’ve seen piles fail not because the idea was bad, but because they were too wet, too dry, or too heavy on one type of material. Once you get the rhythm, it becomes very manageable.
1. Pick the right location
Choose a level spot with some airflow and easy access. You want it close enough to use often, but not so close that it becomes a nuisance. If possible, keep it on bare soil so worms and microbes can move in more easily.
Avoid areas that flood after rain. Too much standing water can slow the breakdown and create a sour smell.
2. Build a base layer
Start with coarse brown materials like small sticks, straw, or dry leaves. This base helps with drainage and airflow from the start. Think of it like laying a foundation for a house.
A base layer that is about 4 to 6 inches deep is usually enough. It helps the pile breathe from below and reduces the chance of soggy spots.
3. Add green and brown materials in balance
A healthy compost pile needs both greens and browns. A common rule is to aim for about 2 to 3 parts browns for every 1 part greens by volume. That ratio helps keep odors down and speeds up decomposition.
Good green materials include:
- Fruit scraps
- Vegetable peels
- Coffee grounds
- Fresh grass clippings
- Tea leaves
Good brown materials include:
- Dry leaves
- Shredded cardboard
- Paper towels without chemicals
- Straw
- Small branches
- Untreated wood chips
When I first started composting, I made the classic mistake of adding too many kitchen scraps at once. The pile got wet, sticky, and a little smelly. Once I added more dry leaves and mixed it well, the whole thing improved fast.
4. Moisten the pile lightly
Compost should be damp, not dripping. A good test is to squeeze a handful. It should feel like a wrung-out sponge and release only a drop or two of water.
If the pile is too dry, decomposition slows down. If it is too wet, it can turn compact and start to smell. Water it lightly as you build the pile, especially during hot or dry weather.
5. Turn or mix it regularly
Turning the pile adds oxygen, which helps microbes break things down faster. You do not need to do it every day. Once every 1 to 2 weeks is often enough for a home compost pile.
Use a pitchfork, garden fork, or shovel to move material from the outside into the center. This helps everything decompose more evenly. In my own compost routine, turning the pile after a stretch of rain has often been the difference between a slow pile and a lively one.
6. Keep adding scraps the right way
You can keep adding materials as you go, but try to bury fresh food scraps under brown material. This helps prevent odors and pests. It also keeps flies from getting interested.
If you produce a lot of scraps, consider collecting them in a countertop container and emptying them into the pile every few days. That makes the process cleaner and easier to manage.
Best materials to use when you start a compost pile
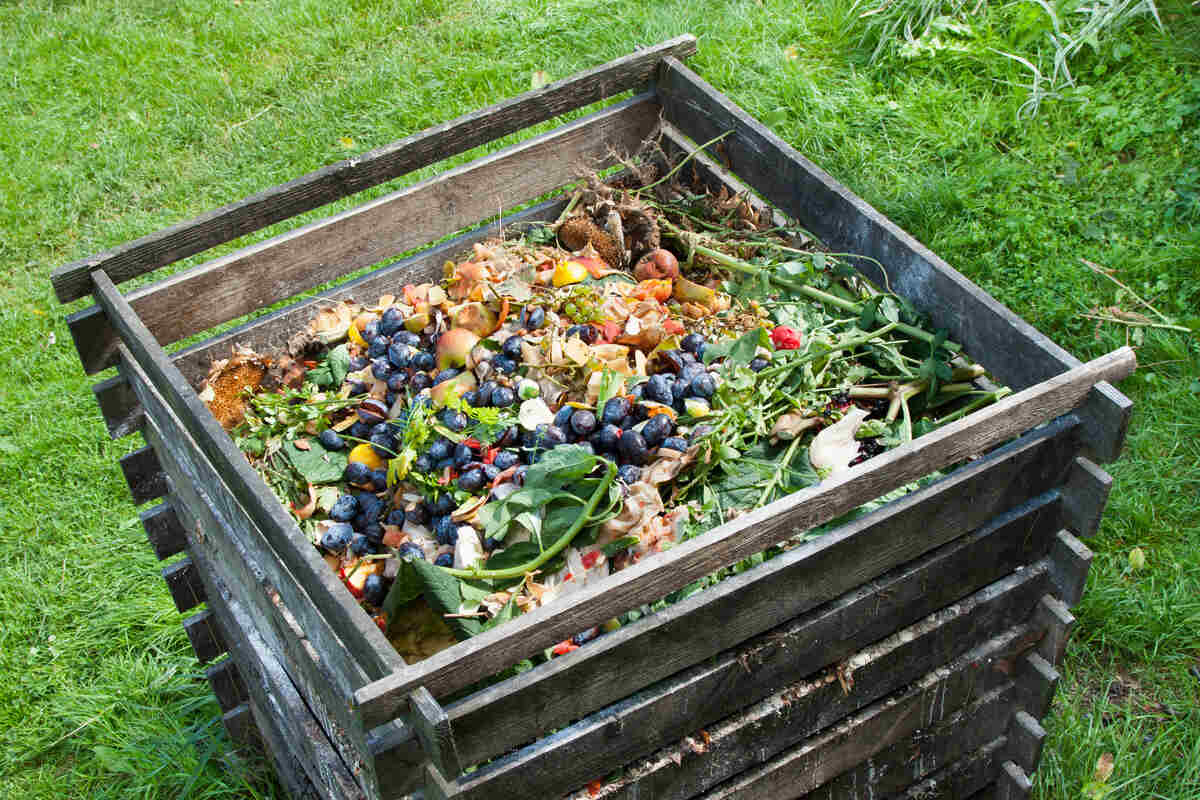
Knowing what to add is one of the most important parts of learning how to start a compost pile. The right mix gives you better smell, faster breakdown, and cleaner results. The wrong mix can slow everything down or attract pests.
Great compost materials
Use these often:
- Dry leaves
- Vegetable scraps
- Fruit scraps
- Coffee grounds and paper filters
- Tea bags without plastic
- Eggshells, crushed
- Grass clippings in thin layers
- Shredded newspaper
- Cardboard, torn into pieces
- Hay or straw
- Sawdust from untreated wood in small amounts
Materials to avoid
Some items do not belong in a basic backyard compost pile:
- Meat and fish
- Dairy products
- Oily foods
- Pet waste from dogs or cats
- Diseased plants
- Weeds with seeds
- Treated wood
- Glossy paper or heavily coated cardboard
- Coal ash or charcoal ash from treated materials
These can cause odors, invite pests, or introduce harmful substances. Municipal compost systems may handle some of these differently, but for home composting, it’s safer to leave them out.
Common compost pile mistakes and how to avoid them
Most compost problems are easy to fix once you spot them. I’ve seen nearly every mistake on the first try, and honestly, that is part of the learning curve. Composting teaches patience in a very practical way.
Too many greens
A pile with too much food waste or grass clippings can become slimy and smelly. Add more browns and mix the pile well to restore balance.
Too many browns
If the pile feels dry and nothing seems to happen, it probably needs more greens or a little water. Compost microbes need moisture and nitrogen to stay active.
Not enough air
A compact pile breaks down slowly and may smell bad. Turn it, fluff it, and avoid pressing it down too hard.
Wrong moisture level
Dry piles stall. Soaked piles go sour. Aim for that damp sponge feel and check the moisture every so often.
Adding the wrong scraps
Meat, dairy, and greasy foods can attract animals and cause strong odors. Stick to plant-based kitchen scraps for the safest results.
How long compost takes to be ready
A compost pile can take a few months or up to a year, depending on the size, mix, moisture, and how often you turn it. Smaller, less managed piles usually take longer. A hotter, well-balanced pile breaks down much faster.
Finished compost looks dark, smells earthy, and no longer resembles the original scraps. You should not be able to recognize most of the materials. If you still see a lot of food pieces or leaves, give it more time.
Signs your compost pile is working well
A healthy compost pile often gives off clear signs. You do not need to guess much once you know what to look for.
Good signs include:
- A mild earthy smell
- Warmth in the center of the pile
- Visible shrinking in size
- A mix that looks darker over time
- No strong rotten odor
- No excessive flies or pests
If your pile has a pleasant forest-floor smell, you’re doing well. That smell is one of the best signs that microbes are active and the breakdown process is moving.
How to use finished compost
Finished compost can be used in many simple ways around the yard and garden. It is like a slow-release boost for soil. I like to think of it as the final step that turns waste into something useful again.
You can use compost to:
- Mix into garden beds before planting
- Top-dress lawns lightly
- Improve potting soil
- Add around trees and shrubs
- Feed vegetable gardens
- Refresh tired soil in containers
Do not pile it too deep around plant stems. A thin, even layer is usually enough. More is not always better here.
How to start a compost pile in a small yard or with no yard
You do not need a large yard to start composting. People in apartments, condos, and small homes can still do it with compact systems. A small bin, worm bin, or sealed outdoor container can work very well.
If space is tight, keep these tips in mind:
- Use a smaller lidded bin to control odor
- Chop scraps into smaller pieces for faster breakdown
- Add shredded paper or dry leaves to balance moisture
- Empty and turn the bin often
- Keep the setup near your kitchen or back door for easy use
If you live in a place with strict rules or lots of wildlife, check local guidelines before starting. That small step can save you a headache later.
How to start a compost pile in different seasons
Composting can work year-round, but the pace changes with the weather. In warm months, the pile usually breaks down faster. In cold months, it slows down, but it does not have to stop.
Spring and summer
These seasons are great for active composting. Grass clippings, plant trimmings, and kitchen scraps can build heat quickly. Just watch moisture because hot weather can dry the pile out fast.
Fall
Fall is one of the best times to start a compost pile because of all the leaves. Dry leaves are excellent brown material, and they help you stock up for the months ahead. I’ve often built my best piles in the fall simply because nature provides the right ingredients for free.
Winter
Cold weather slows the process, but you can still add scraps. If the pile freezes, that is okay. It will start working again when temperatures rise.
Frequently Asked Questions of how to start a compost pile
What is the easiest way to start a compost pile?
The easiest way is to choose a spot, add a base of dry brown material, then layer kitchen scraps with more browns. Keep the pile damp and turn it now and then so air can move through it.
Can I start a compost pile just with kitchen scraps?
Not well on their own. Kitchen scraps are usually too wet and need dry browns like leaves, cardboard, or shredded paper to balance the pile and prevent odors.
How big should a compost pile be?
A pile around 3 feet by 3 feet by 3 feet is a good size for many home setups. That size is large enough to hold heat but still manageable to turn and maintain.
How do I keep my compost pile from smelling bad?
Add more brown material, avoid too much moisture, and turn the pile to bring in air. Bad smells usually mean the pile is too wet, too compact, or too heavy on food scraps.
Can I compost if I only have a backyard corner?
Yes, you can use a simple open pile or a bin in a corner as long as it has drainage and some airflow. Just keep it neat, balanced, and easy to reach so you stay consistent.
Conclusion
Learning how to start a compost pile is really about building a simple habit that pays off over time. Once you keep the right mix of browns, greens, water, and air, the process becomes much easier than most people expect. A healthy compost pile saves waste, supports your soil, and gives you a practical way to turn everyday scraps into something useful.
If you’re ready, start small today with what you already have at home. Add a few dry leaves, toss in some fruit and vegetable scraps, and let the pile begin. You may be surprised how quickly this simple project becomes part of your routine, so keep learning, keep tweaking, and share your composting progress with others.